|
you have Guest user access (not logged in)
|
||
      visitors since May 2003 ClubSite © ver 1.3 |

|
|
click here to return to the gallery list
|
||||||||
|
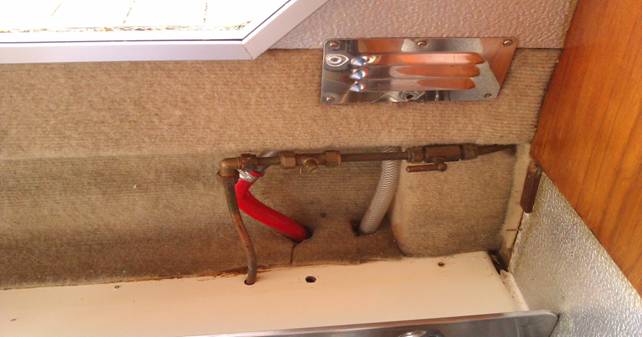
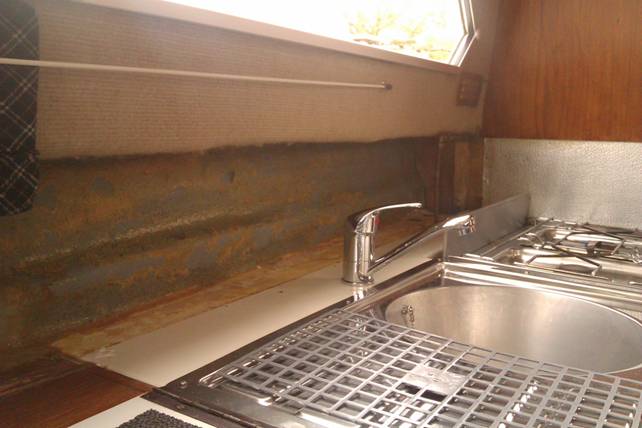
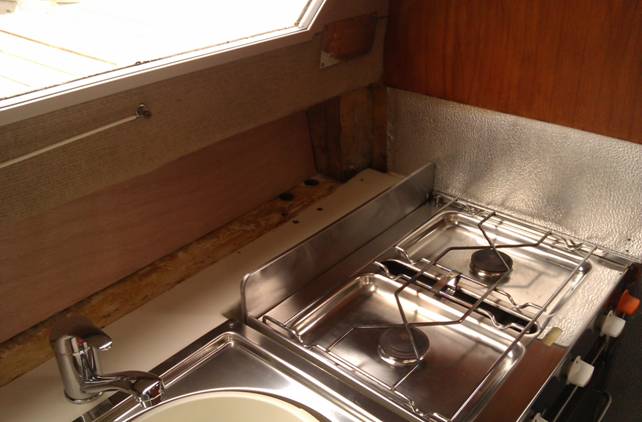
I have wanted to do a re-furb on our Viking 23 'Odd Bod' since owning her. The feel of the original galley was less than modern. There was also a wooden plinth that ran behind the sink and cooker that stopped the use of about 3” of space. As we all know, every extra inch is a bonus! I had given the two burner cooker a good clean when we first got the boat. Since then I had replaced the sink/drainer with a like for like new version. I had also replaced the original tap with a single operation new version. The old galley had the gas pipework emerging behind the cooker along with the redundant water hoses where a former water heater had been.
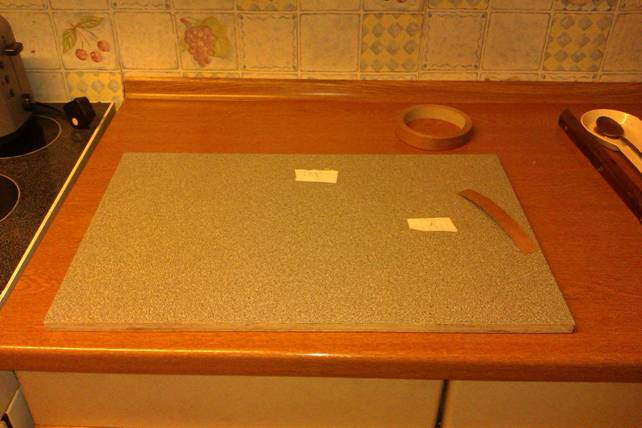
I also thought that the carpet lining looked un-hygienic so spent some time thinking of a clean but easy replacement. I obtained several samples of Formica laminate sheet and decided this would be the best option. Clean looking, easy to clean, fairly east to fit.
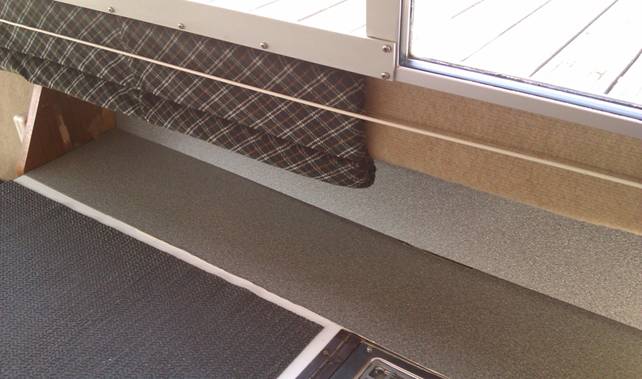
The Formica was quite easy to cut using the templates and sharp Stanley knife. I used EvoStick contact adhesive to fix the Formica to the board and sill.
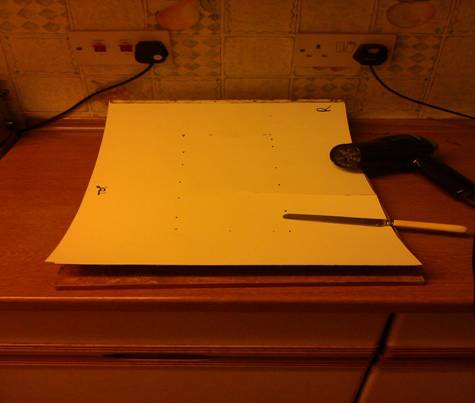
The next stage was removing the folding board. I sourced a new piano hinge from the local Wickes. The original white Formica was removed using a hair-drier and pallet knife. I then stuck the new Formica laminate both sides and finished off with veneer edging strip.
The edges where the Formica edges met were finished off with bathroom sealant then wooden edging strip was sprayed grey, varnished and stuck in place to give it the finishing touch. The finished job brings the galley back up to date and feels much cleaner. Total cost was less than £100 including a 10' x 3' sheet of Formica laminate (as this was the only size the supplier would sell) Evo Stick, wood veneer edging strip, piano hinge, wood edging strips, grey spray paint, varnish and chrome trim. |
||||||||